A practical first path through Storyteller 3.
Storyteller has a large set of tools, but the basic workflow is simple: create a Story, add a Scene, begin a character chain, connect the events that follow, and then bridge that data into your game when you are ready.
Installation and package requirements
Import Storyteller 3 from the Unity Package Manager into the Unity project where you want to use it. Storyteller 3 is designed to function as a self-contained Unity asset and does not require another external tool in order to create and manage stories.
- Open Unity's Package Manager.
- Locate Storyteller 3 in your available assets.
- Download and import the package into the project.
- Allow Unity to finish compiling before opening Storyteller for the first time.
Game Bridge is included with Storyteller 3. You do not need to install a separate runtime package before following the authoring sections of this guide.
Good to know
The core Storyteller workflow does not require AI services. AI-assisted generation and translation are optional features and can be configured later if you choose to use them.
A Package Manager screenshot or a short import walkthrough works well here.
Creating a Storyteller 3 Story project
Launch Storyteller from Tools > Storyteller > Storyteller Studio. When the Storyteller window opens, click New Story in the upper-left corner.
- Choose a folder if you want to control where the Story asset is saved.
- Give the Story a name, or leave the name unchanged to create New Story.
- Press Create. If no folder is selected, Storyteller can create the Story using its normal project location.
What the New Story information is for
The New Story window lets you establish the creative context for the project. This can include information such as the story's year, genre, overview, tone, setting, theme, plot, summary, target audience, narrative style, art style, art medium, and color palette.
You do not need to perfect all of this before creating the project. The same story-level information is available later from the Story's Settings window, so it can evolve as the project develops. Think of these fields as shared context for your story rather than a form that must be completed before you can work.
Why add this information?
Besides keeping the project organized, story-level information gives characters, scenes, exports, and optional AI tools a consistent creative context. For a quick test project, a name and a few basic details are enough.
Show the folder/name controls first, then briefly pan across the story information fields.
Creating scenes and nodes
Create a Scene
Scenes divide the Story into manageable sections. From the upper-right area of the canvas, open Project Manager > Go To Scene Manager > Add New Scene.
Double-click a Scene to open it. You can also double-click the Scene name to rename it. Once the Scene is open, the canvas becomes the workspace where you build that part of the story.
Create your first node chain
Hold CTRL + Left Click on an empty area of the canvas to open the Node creation menu, then choose the node you want to add. For a first test, begin with a Character Node. Character Nodes are important because they establish a character's chain of events.
When a node is selected, its editable data appears in the Properties window. The exact properties change with the node type.
The Timeline
As nodes are connected into character chains, those nodes are also represented in the Timeline. The Timeline gives you a chronological view of the active story path instead of only the spatial view of the canvas. Timed nodes can show information such as start time, delay, duration and their position in the character's sequence, while route-aware views help you understand how alternate paths affect the flow.
The Canvas answers “what is connected to what?” while the Timeline helps answer “when does this happen?”
Use a screenshot of a small connected node chain and a short clip showing that same chain appear in the Timeline.
Characters and environments
Characters and environments give the connected nodes around them context. They are more than labels on a graph: both can carry reusable information that follows the story into later tools and, when bridged, into runtime data.
Character Nodes
A Character Node identifies the character responsible for a chain of events. Character data can include the character's name and biography as well as deeper profile information, personality data, imagery and voice samples. You can keep the profile lightweight for minor characters and add detail only where it is useful.
Dialogue and other nodes connected through that character's chain can inherit the relationship to the character, which is why beginning with a Character Node makes the flow easier to understand.
Environment Nodes
An Environment Node describes where the following part of the chain is taking place. Environment information can describe the location, mood, physical appearance, history, culture, architecture, time of day, season, weather, lighting and other details, along with an environment image.
When an Environment Node becomes active in a chain, the connected nodes that follow are understood to occur in that environment until another Environment Node changes it. This lets you establish a location once instead of repeating the same information on every dialogue or action.
Keep profiles as simple as the project needs
A Storyteller project does not require a complete biography or world encyclopedia for every scene. Add the information that helps you write, organize, export or drive gameplay, and expand it later when the project benefits from it.
Show one Character Node, one Environment Node, and how selecting each changes the Properties window.
Routes, conditions and nonlinear structures
A straight chain is useful for learning Storyteller, but stories often need decisions, alternate outcomes and paths that later return to a shared sequence. Route Nodes are the main authoring tool for those branches.
Connect a Route Node where the story should split, then connect its outputs to the different branches. Each branch can contain its own dialogue, actions, environments and additional routes. Storyteller 3 supports Route structures with multiple outputs, allowing a single decision point to lead into several possible paths.
Links, loops and convergence
Link Nodes help connect sections of the graph without drawing an impractically long connector across the canvas. They can also participate in time skips and looping structures. Routes can be used with these structures to decide when a loop continues, exits, or returns to another part of the story.
When different branches should return to the same continuation, build the graph so those paths converge back into a shared sequence rather than duplicating the remainder of the story.
Where conditions fit
The Route defines the possible structure. At runtime, Game Bridge conditions can decide whether a route, event or interaction should be available based on the current game state. This separation is useful: Storyteller describes the narrative possibilities, while Game Bridge connects those possibilities to gameplay rules.
Localization and translation
Storyteller can store the same story content in multiple languages. A Story has a language list, one language can act as the default/source language, and localized node data is kept aligned with that list.
Start by adding the languages the project actually needs. Write and review the default language first, then fill the translated values manually or use Storyteller's optional translation tools. Dialogue text, accompanying actions and route titles are examples of content that can have language-specific versions.
Translation can be performed on focused selections instead of forcing you to translate an entire project every time. This makes it practical to translate a scene or selected nodes as that part of the story becomes ready.
Runtime language selection
When Storyteller data is pushed through Game Bridge, the SceneData includes the language information needed by the runtime system. Game Bridge can then use the selected language index when retrieving localized text and route options.
Show adding a second language, editing translated dialogue, and switching the active language.
Audio, storyboards and media
Storyteller is not limited to written dialogue. Media can be attached to the parts of the story where it is useful, allowing the same narrative data to act as both a writing tool and a lightweight production reference.
Dialogue Nodes can carry localized dialogue, voice recordings, sound effects and storyboard imagery. Action Nodes can use storyboard images and sound effects to show or reinforce what is happening. Characters can also hold voice samples, while Environment Nodes can use images to visually define locations.
On the Timeline, audio-aware timing can help you understand how dialogue and actions fit together. This is particularly useful for cinematic conversations, visual-novel style scenes, timed sequences and any interaction where pacing matters.
You do not need to add media to every node. Use it where the visual or audio reference communicates something the text alone does not.
A practical production workflow
Write and connect the scene first. Add rough storyboards or temporary voice clips during iteration, then replace them with final media later. This keeps story structure separate from asset polish and makes revisions easier.
Game Bridge runtime setup
Game Bridge is included with Storyteller 3. Storyteller is where you author the story; Game Bridge is the set of runtime systems that lets Unity use that authored data during play.
The central runtime asset is SceneData. When you use the Game Bridge editor to Push To Scene Data, the relevant Storyteller scene is converted into runtime-friendly node data. That SceneData can include the connected node set, characters, languages and other information needed by the interaction system.
- Create or select the SceneData that will receive the Storyteller scene.
- Use Game Bridge's editor tools to push the authored scene into that SceneData.
- Add/configure an Interaction component in the gameplay scene.
- Connect the required characters or interactable objects for the interaction.
- Trigger the interaction from gameplay and connect your own UI to the dialogue, route and event data you want to present.
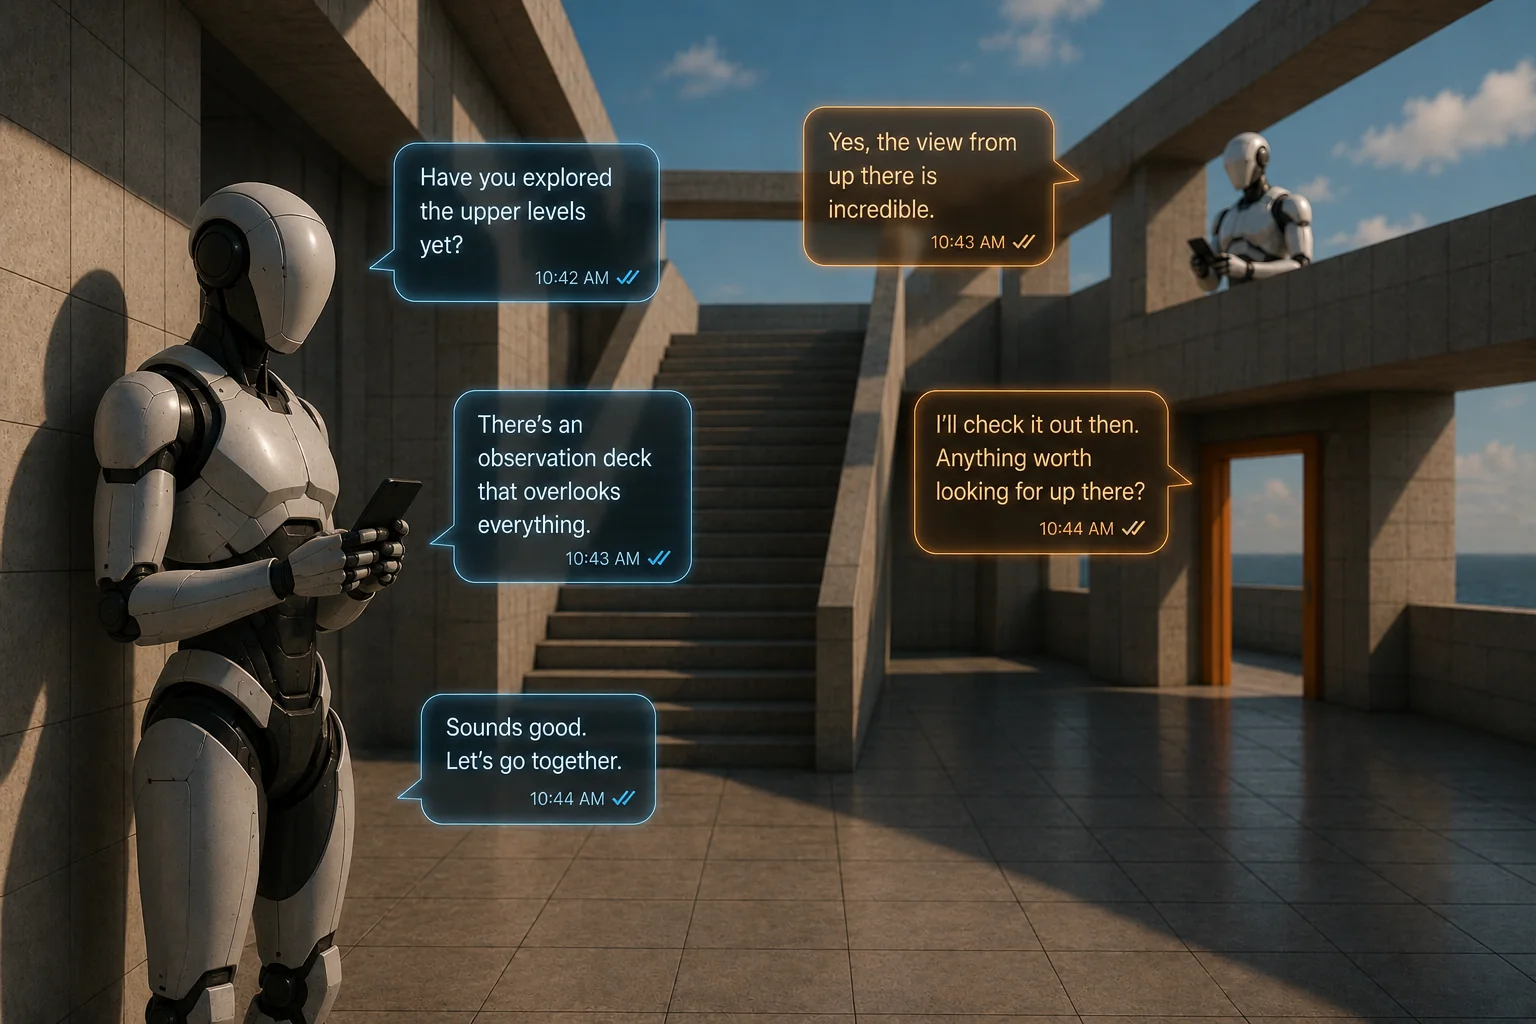
Game Bridge does not force one dialogue-box design. The same story can drive a traditional dialogue window, scrolling history, overhead chat bubbles, phone-message UI, cinematic subtitles or another presentation built for your game.
Saving, history and advanced runtime systems
Once the basic interaction is working, Game Bridge includes systems for projects that need to remember what has happened and restore game state later.
History
The History system can retain information about processed story events. History entries can identify the scene, character, node type, displayed text, route information, timing, participants and other runtime context. This makes it useful for features such as conversation logs, recap screens, debugging, or game logic that needs to know what the player has already experienced.
Saving
The included SaveManager is a generalized JSON persistence system. Save targets are processed in an ordered list, allowing game objects, components and ScriptableObjects to participate in the save/load pipeline. Multiple save slots and lifecycle options can be used when the project needs them.
This runtime save system is separate from saving the Storyteller Story asset in the Unity Editor. Storyteller stores authored project data; the SaveManager is for the state of the game while it is being played.
Advanced structures
As the project grows, Game Bridge can combine routes, runtime conditions, link/loop structures, history and saved state to create interactions that react to previous choices instead of always replaying the same path.
When should I learn these systems?
After a basic SceneData + Interaction setup is working. Saving and history become much easier to reason about once you already understand what a node looks like at runtime and how your game moves from one node to the next.
Show a conversation history UI beside the SaveManager Inspector, then demonstrate saving and restoring an interaction state.
Game Bridge
Game Bridge is the connection between authored Storyteller data and the systems in your Unity scene. The basic mental model is: Storyteller Scene → SceneData → Interaction → your game/UI.
SceneData
SceneData is the runtime representation of a Storyteller scene. It contains the raw pushed node set, an active node set used during interaction, character references, languages and the active language index.
Interaction
The Interaction component processes the current SceneData and manages linear or nonlinear interaction flow. It exposes runtime actions such as moving to the next node and changing the active language, while interaction trigger components can begin conversations with specific interactable characters.
Conditions and reflected data
Conditions let runtime logic respond to game state. They can be general to an interaction or associated with specific reflected/node data, allowing events to be gated or invoked at the part of the story where they matter.
Your UI remains yours
Game Bridge provides the narrative/runtime data rather than prescribing a single finished game UI. Use Unity UI, TextMeshPro, world-space canvases or your own presentation system and connect it to the data/events required by the game.
Push one scene, configure Interaction, assign two characters, trigger the conversation and choose a route.
Localization
Localization is built around one shared language list and language-specific versions of the content that players see or hear.
Choose a default language
The default language acts as the main authored/source version of the Story. Additional languages are kept in matching positions so Storyteller and Game Bridge can retrieve the correct localized value using the active language index.
Translate the content that needs it
Dialogue text, accompanying actions and route titles can be localized. Where media is language-specific, the corresponding language data can also be managed without requiring separate copies of the entire Story.
Use translation tools selectively
Storyteller's optional translation tools can work on focused sets such as selected nodes or larger scene collections. This lets you keep translating as the story changes instead of treating localization as one irreversible final step.
Switch languages at runtime
The language list is carried into SceneData. Game Bridge uses the active language index so the same interaction can return the appropriate localized dialogue and route choices.
Show the Language Editor, translated route titles, and the same route UI changing language in Play Mode.
AI Tools
Storyteller 3 can be used without AI. The AI tools are optional assistants for creators who want help generating, expanding or translating project content.
Set up an API key only if you use AI
AI features require your own supported API key. Storyteller provides an API settings area in Unity's Project Settings so the key does not need to be entered repeatedly into individual tools.
Generate within Story context
AI tools can use the Story's creative information—such as genre, tone, setting, theme and narrative style—to help produce content that is closer to the project you are already building.
Use AI as an editing workflow
Generation is most useful when you review the result like any other authored content. You can generate or expand dialogue, character and environment material, build story structures, translate supported content, and then edit the result directly in Storyteller.
Begin with a small existing Story, generate or extend a scene, review the created nodes, then manually edit the result.
Scripting
You can use Storyteller 3 largely through its visual tools, but Game Bridge also exposes runtime data and public components for projects that want direct scripting control.
Start with the runtime data model
SceneData contains the scene-level runtime information. Its node collection is built from classes such as DialogueNodeData, ActionNodeData, CharacterNodeData, EnvironmentNodeData, RouteNodeData, LinkNodeData and EndNodeData.
Control interaction flow
The Interaction component is the main processor for dialogue and interaction flow. Public methods can be called from scripts or UnityEvents where your game needs explicit control—for example, moving forward or changing the active language.
Trigger interactions from gameplay
Interaction trigger components can begin an interaction with an InteractableCharacter or GameObject. This keeps the trigger mechanism flexible: collision, raycast, UI selection, keyboard input or another gameplay system can decide when the conversation begins.
Build on History and SaveManager when needed
History exposes structured records of processed interaction data, while SaveManager provides an ordered persistence pipeline. These are useful extension points when a game needs custom logs, progression tracking, quest state or save/load behavior.
The scripting reference will grow into smaller copyable examples rather than one long API dump, so each example can explain the task, the required component, and the result.
Show a small MonoBehaviour beside Play Mode footage demonstrating each public action.
Documentation first. Direct support when needed.
If a workflow is unclear or you find a reproducible problem, the Support page has Discord and direct contact options.